Step by step
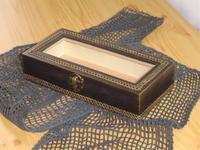 As I promised (better late than ever), here's the step by step of the box. I used another one, but the process is the same.
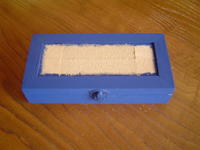
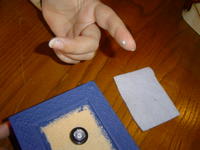
1. Sand the box and clean all the dust residues. Protect the areas you don't want to be painted and paint the box with acrylic paint. 6
5 5
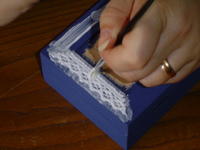
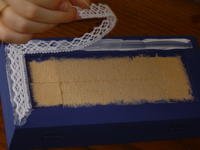
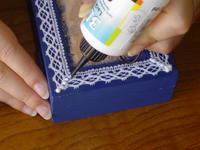
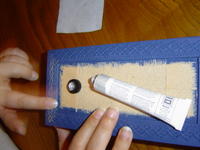
2. Cut the correct measurement of lace, apply glue and then the lace. Make sure it's glued well.
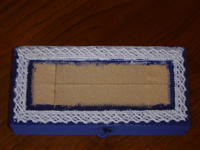
4. When all the lace is glued let it dry.6
4. When all the lace is glued let it dry.6
5. To correct possible imperfections apply 3D glue and let it dry. 5
6. Paint the lace with the acrylic paint, again. Make sure you don't leave any unpainted spot. Let it dry. 6 6
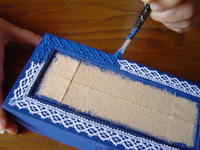
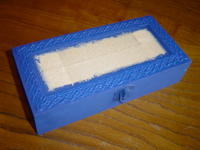
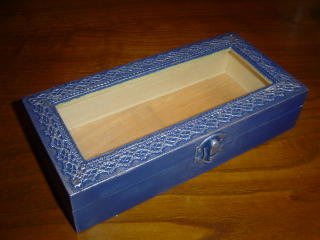
7. Apply the smallest quantity of goldfinger on the lace to show the relief. Repeat as often as necessary, but always with the smallest quantity in order not to smudge. 6 6


0 Comments:
Post a Comment
<< Home